So I will make my comeback this week with a project my mom and I did today, the day after a 10 hour drive home back to Ohio. I wanted to do this immediately, and my Mama joked that I'd have us stop at Home Depot on our way home yesterday. I wasn't that bad, but we did get started pretty early today :)
While in Jersey, we did some shopping. And by some, I mean way more than some. I had this idea that I saw on Pintrest (woah, shock right?) and for this idea I needed some accessories. And when I need fabulous accessories, I shop with my grandmother. A stroll through Pier One and Home Goods lent itself to a couple great mirrors and a lamp. Fabulous.
Not going to lie, I can't remember if I simply saw this idea and didn't pin it, or if I have so many pins that I am overlooking this particular one, because I cannot find the picture anywhere! I do remember that it didn't link to a particular blog, as in there were no instructions or before and after photos, so I can't even try to find the original blog. So, whoever you are with the cute living room shelf, I thank you. And I tried to find you!
This is a great way to add something behind a couch without spending a ton of money on a sofa table, or trying to fit one in where it really won't fit at all. It's easier to look at a picture than to try and explain it in words:
 |
| BEFORE |
 |
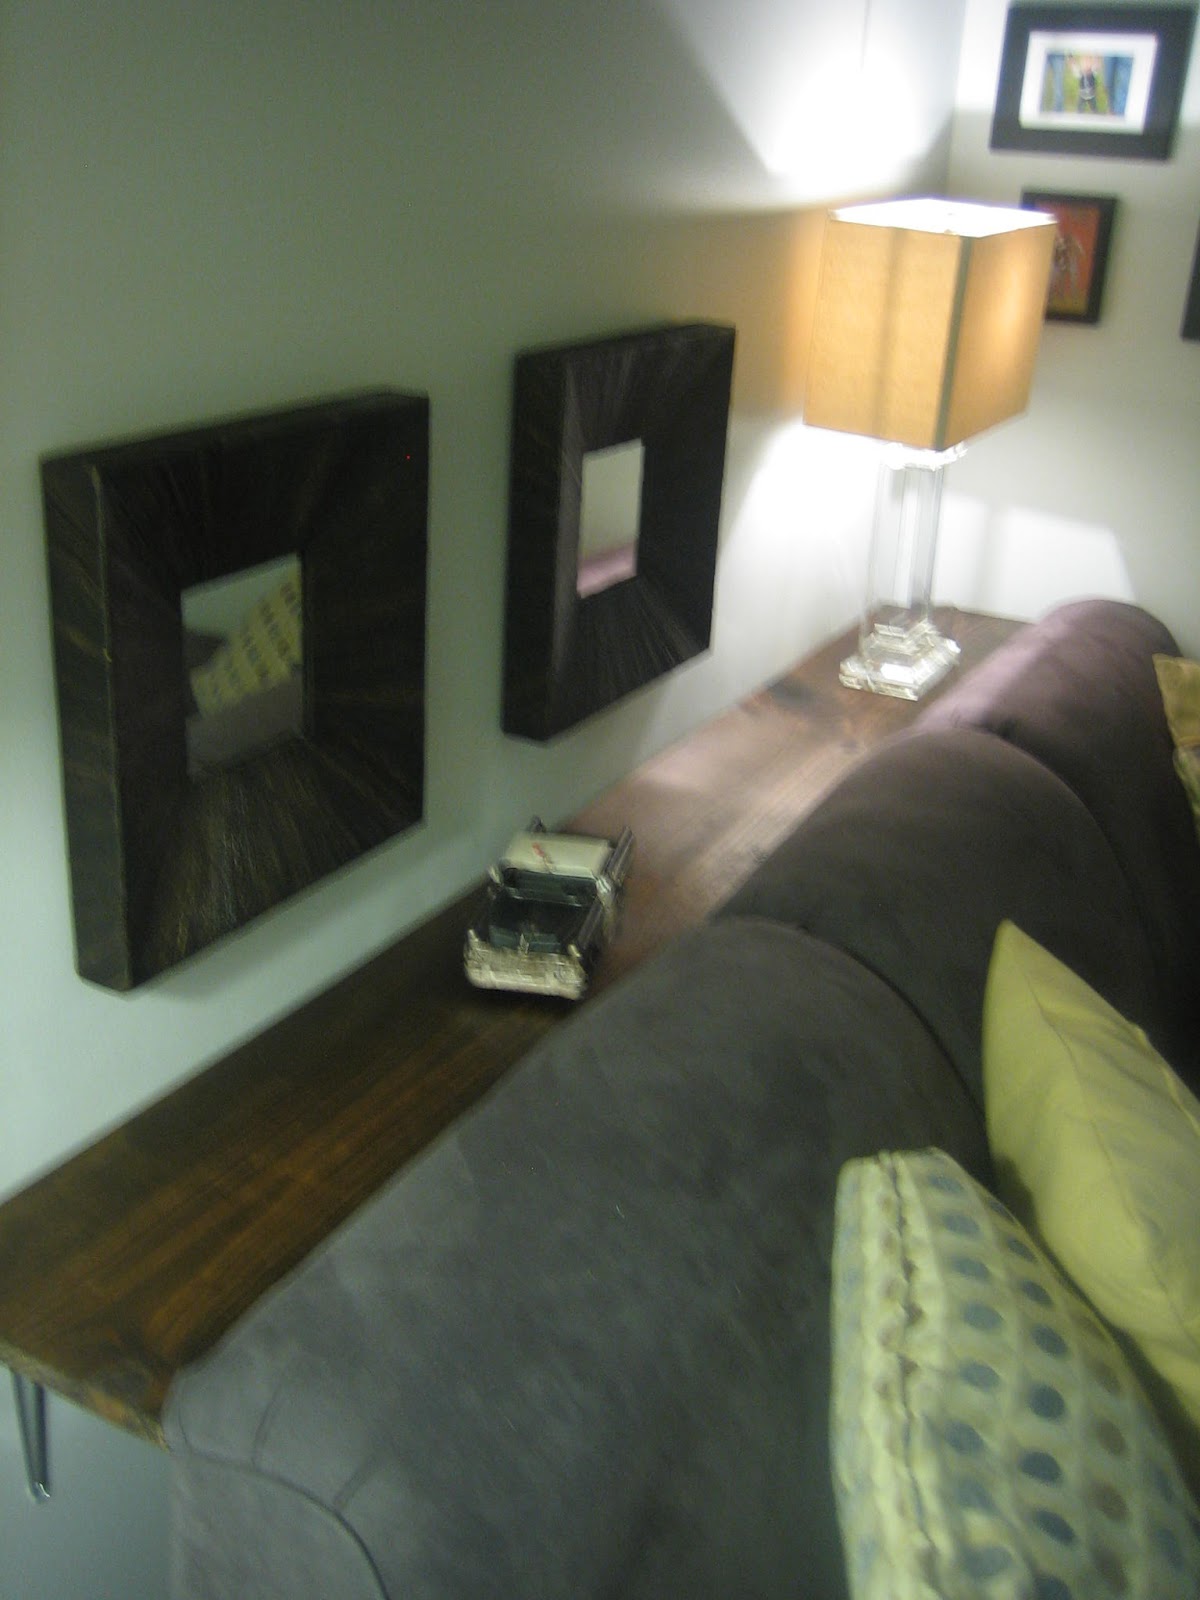
| AFTER |
So, grab a helper of your choosing and get started!
 |
| Puki. We're puppy sitting. She did a fabulous job supervising the project. |
 |
| Or Baby Wonder. He was more "hands on" than "supervisor". |
You will need:
- A plank of lumber the length of your couch and 10-12 inches wide. I did 10 inches, and that was perfect. 12 would have been too wide for my space. My couch is 6 feet 3 inches (75") long. So when I went to Lowes to get my lumber, I had the super helpful Lumber Guy cut the original 10'X10"X1" board down to 75". I paid less than $17 for that cut of lumber, so make sure you don't pick up the high quality cedar planks. You don't need anything fancier than regular pine, especially since you're going to stain it.
- A small can of stain in the color of your choice. I use MinWax in the Dark Walnut color. We used this same color, in various levels of richness, on all of the refurbished wood projects in our living room: our ladder-turned-blanket-rack, our chest-turned-coffee-table, and the shelves I made for the wall above the couch. It's my favorite shade for wood.

- 3-5 L Brackets, depending on the length of your shelf and the weight of the items you want to display. I knew I'd be putting a very heavy lamp on one end, so I decided to go with 4 brackets. They don't have to be fancy, since you won't be seeing them. Mine were $1.28 a piece.

- Anchors & accompanying screws (most anchors will come in a pack WITH the screws that fit that anchor, so there isn't any guess work), 3/4 inch screws (to connect the brackets to the wood), drill, level, and a screwdriver.
To build:
- Begin by sanding any rough edges of your plank. Apply as many coats of stain you'd like. Let dry.


2. Turn your dried wood upside down (I started to stain one side, then decided I wanted to use to other side). Space your L brackets evenly-ish (I'm a fan of "ish") along the length of your plank.

Everything is always "even-ish" at my house. Maybe it's because of this guy doing all the measuring?

3. It's optional, but you can take a level and make sure the brackets are flush with the side of the plank. If they aren't, it can cause weird gaping to the wall when you go to screw the shelf in.

4. Screw in your brackets.

5. It's best to do this part with someone. My someone was my Mama. Super helpful someone, by the way. Establish where behind your couch you'd like your shelf. Make sure it sits just below the top of your couch, since this isn't designed to be seen, like a decorative shelf would be. Use a level to make sure it's straight, mark where you're putting your anchors, and drill into the wall.

6. Accessorize!


No comments:
Post a Comment