I was perusing Pintrest (which, yes, I do happen to have time for) and found a fabulous idea at Five Crafty Sisters, accompanied by a tutorial, and decided to try it out. It is a car seat cooler, which initially sounded like a way to fashion a beer supply to Baby Wonder's car seat, but is in fact something far less illegal. Since everyone reading this knows me personally, you know that we live in Ohio, and Ohio is freaking hot in the summer. Anyone who lives somewhere hot knows the impending doom felt in the pit of your stomach as you approach the car after grocery shopping for an hour in July. The feeling of opening an oven door, then having to climb in said oven and melt until your AC begins generate relief is enough to make you glare at those beautiful rays you were dreaming about in December.

No, this is not meant to be added to a car seat. This is for putting over the car seat while the toddler is NOT in it, to cover the hot metal and dark fabric so that it is nice and chilled when he gets back in it. You remove it when a baby is in the seat.
The original post was a simpler process. That tutorial only called for a bath towel, cut and sewn. Again, since many of you know me, you can assume that a bath towel was simply not cute enough. This called for dinosaur fabric.
Everything deserves to be beautiful.
I got the idea for the size of the cooler by looking at Five Crafty Sister's final product, then used discounted fabric from JoAnn's (I am not a fan of full price, nor am I a fan of buying something when I can make it myself). When I explain how to do something, especially if I'm not there to walk someone through it, I tend to be loquacious. I don't think you're stupid, oh faithful reader, however I like clear instructions when I am making something, so I am projecting my preference onto you. You're welcome for long winded details.

Your supplies:
3 cold packs (IN THE CAMPING SECTION. You're welcome. Now you won't roam Walmart like I did). Half yard of fabric (I got a yard because I wasn't sure how much I needed, so ignore the obviously-not-half-a-yard pictures). Ribbon (I used 2 feet, use however much you will need to secure around the back of a headrest). Scissors. Pen. Sewing machine. Iron or straight pins.

Step 1. Start by folding your fabric in half so that the"cut" ends are on either end, AKA fold it like a hamburger. Doesn't matter if it's right or wrong side at this point.
Step 2: Take your 3 cold packs and place them end to end. You're making sure they fit perfectly lengthwise (they should) and you're also getting an idea for how wide you need to trim your fabric. Leave about 1.5-2 inches on either side of the cold packs, and cut. This is the piece of fabric you will be working with.


Step 3: Remove the cold packs and set aside. You'll need them later. Open your fabric and flip it wrong side up. If you have straight pins, grab them. If your husband works 3rd shift and is sleeping in the same room as your straight pins, grab an iron (and a towel to act as an ironing board). I actually prefer ironing my hems down. They stay put perfectly, and my sewing machine eats pins like I eat gummy bears.We're hemming ONE long side and BOTH short sides. Iron or pin 1/2 inch all the way up the long side. It's easier to sew this side, and then iron and hem the two short sides.


Step 4: Set your seam, and sew the long side. Repeat the step above, ironing the two short sides (and maybe a few of those nasty wrinkles, too). Sew those.

Step 4: Fold your fabric in half again. It should look like the picture on the left, wrong side out. Now sew the UN-HEMMED side shut, and flip it right side out, like on the right. It will remain right side out for the rest of the project. You should now have 2 closed sides: one short side (which is folded), and one long side. You should have 2 open sides, both hemmed.
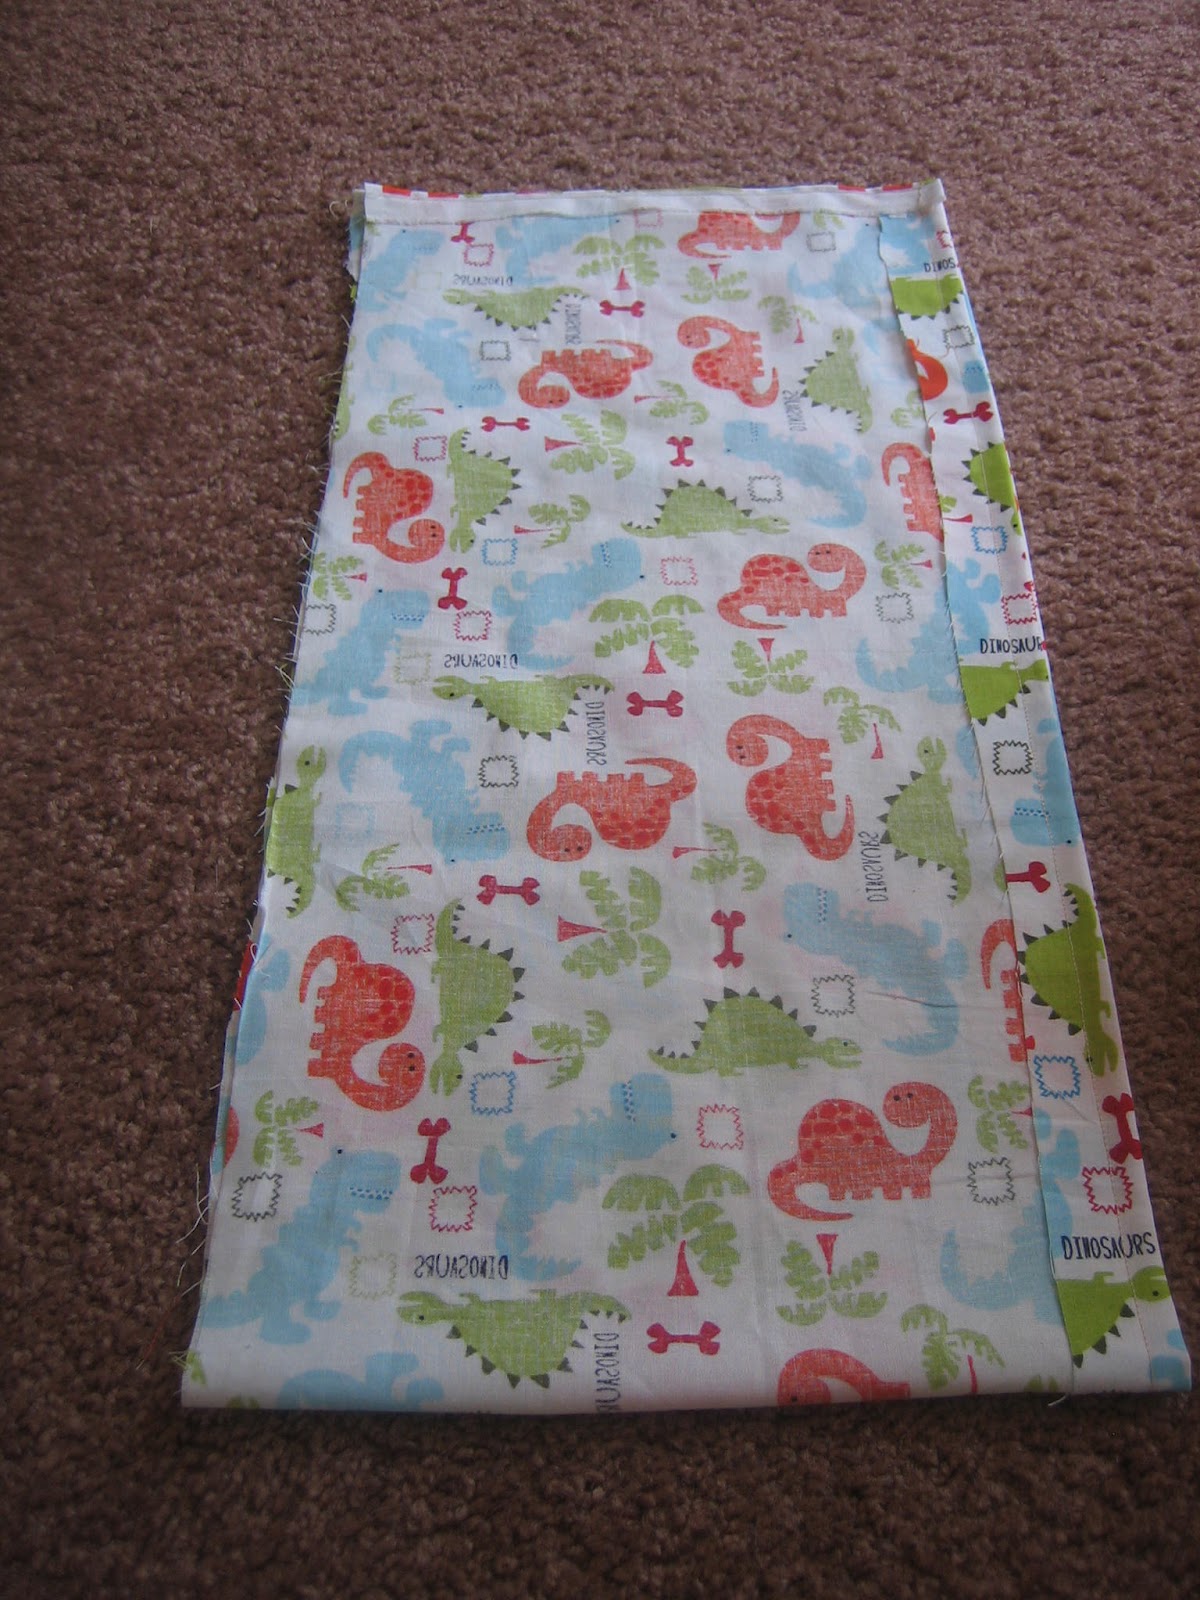

Step 5: On the short, hemmed side, place your ribbon. This will be the top, and the part that loops over the car seat headrest. Pin the ribbon, and sew the top CLOSED, securing the ribbon between the fabric. Try to stay as close to the original hem seam as possible. You should now have 3 closed sides, with only one long, hemmed side open (pictured on the right).


Step 7: Sew along your two pencil lines to create the pockets. Backstitch to prevent the thread from coming loose, and trim your thread as close to the fabric as possible.

You're done! Keep those cold packs in the freezer and fold up the cooler so it stows in your car. It's not like anything else fits in those tight backseat pockets. As always, let me know if you have any questions!

No comments:
Post a Comment