While I won't be building any more furniture projects in the near future, this hasn't stopped me from making little things for the house. This project (source here) is a perfect stuck-on-your-butt craft, and since I had planned on doing this before I got sick, I already had all the supplies on hand!
Here's what you need:
- Spanish Moss (I have a GIANT bag that I use for lots of things, it cost $5, but you can get smaller bags for much cheaper if this is all you'll use it for)
- Raffia ribbon (Again, I have a TON of this stuff. It also cost around $5, but it will last me forever)
- 2x4 blocks, cut in varying heights. Figure out where you want your pumpkins displayed. I knew I wanted mine to add HEIGHT to the shelf behind my couch I made mine much taller than the original plans called for. See what works best for your space, and take those measurements to Home Depot.
- The stems for your pumpkins, which are thick sticks cut about 2 inches high. My mom did this part :)
- Thick black floral wire
- Orange and brown acrylic paint, and a paint brush or sponge brush
- Sandpaper & hot glue gun
 Begin by sanding your blocks and giving them a coat of orange paint. The colors I bought were Jack-O-Lantern orange and Melted Chocolate. It turns out my orange was a little too bright for my taste, so I mixed it with brown to get the darker shade I wanted.
This step is OPTIONAL. Sand down your painted blocks again to create distressed edges. Mix a squirt of brown paint with about a half cup of water to create a brown wash. Paint this over your blocks, paying attention to darkening the edges. It is best to dip your sponge or paint brush very lightly at first to gauge the amount of wash that looks best on your pumpkins... you don't want to make it too dark accidentally.
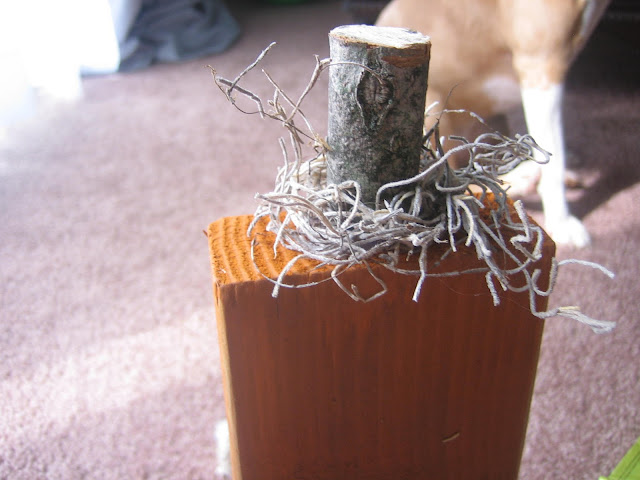
After everything dries (pretty quickly, since it's acrylic paint) attach your stems to the top of the pumpkins using a generous amount of hot glue.
Curl a length of floral wire around a pen and pull the coil to make it "loose".

Wrap the coil around the stem to create a vine in the front. Hot glue some Spanish moss around the stem and wire. I switched these two steps when I was making these, but I decided that it would be easier to do it this way. That's why my pictures are off a bit. If you look at the next two pictures, it will clear up any confusion.
Tie a length of raffia around the stem.
Fall in love :)
Probably my favorite spot in the house!


No comments:
Post a Comment